All guides
Set up Kiosk Mode on a staff screen
Assign destinations to a staff screen and put it into fullscreen for the day.
Kiosk Mode turns a signed-in staff screen into a check-in register for one or more selected destinations. It lists open pass records whose expected destination matches the screen so staff can record a check-in when a student arrives.
Open Kiosk Mode from the menu.
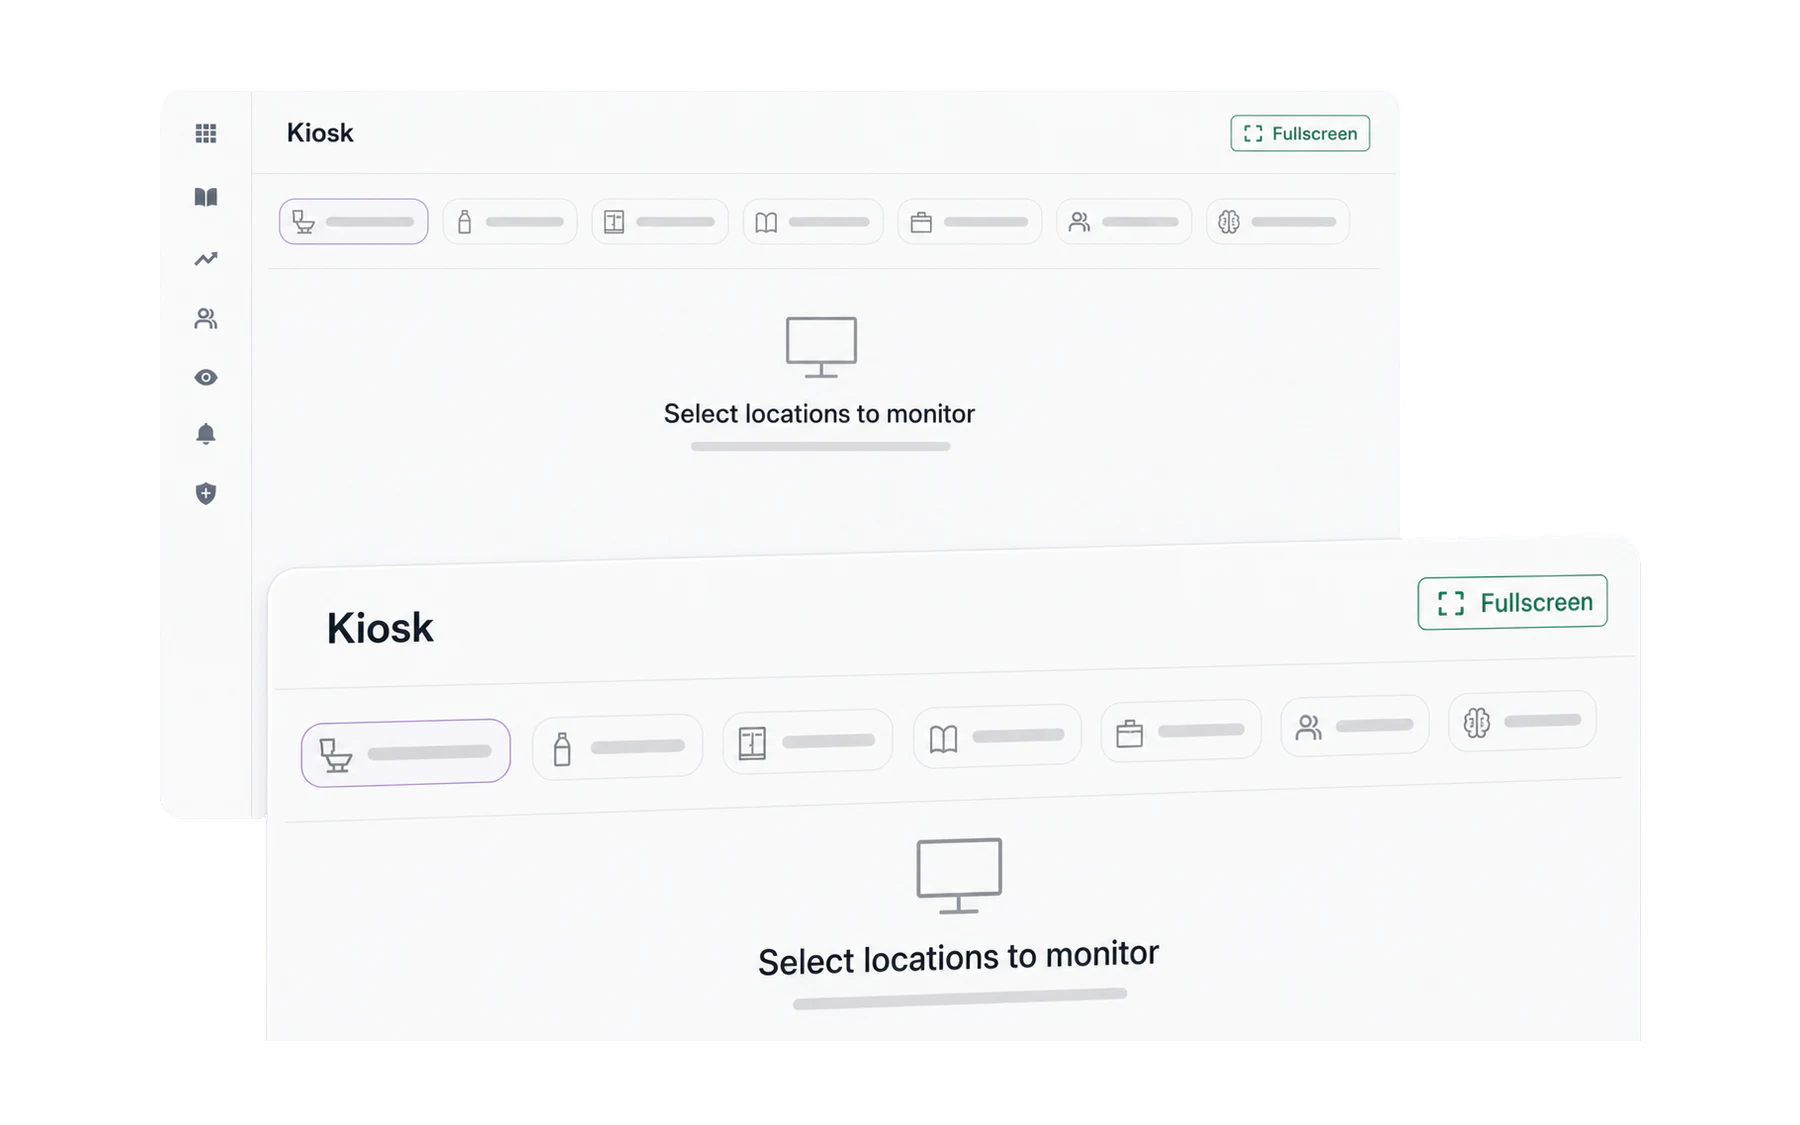
No pass records appear until you assign at least one destination to the screen. Choose the destinations assigned to this screen. Tap one or several — a librarian who also covers a study room can manage check-ins for both. Selected destinations get a tick.
Go fullscreen with the expand icon in the top right. The menu disappears and the board fills the display, which is what you want on a screen that will sit there all day.
What the board shows
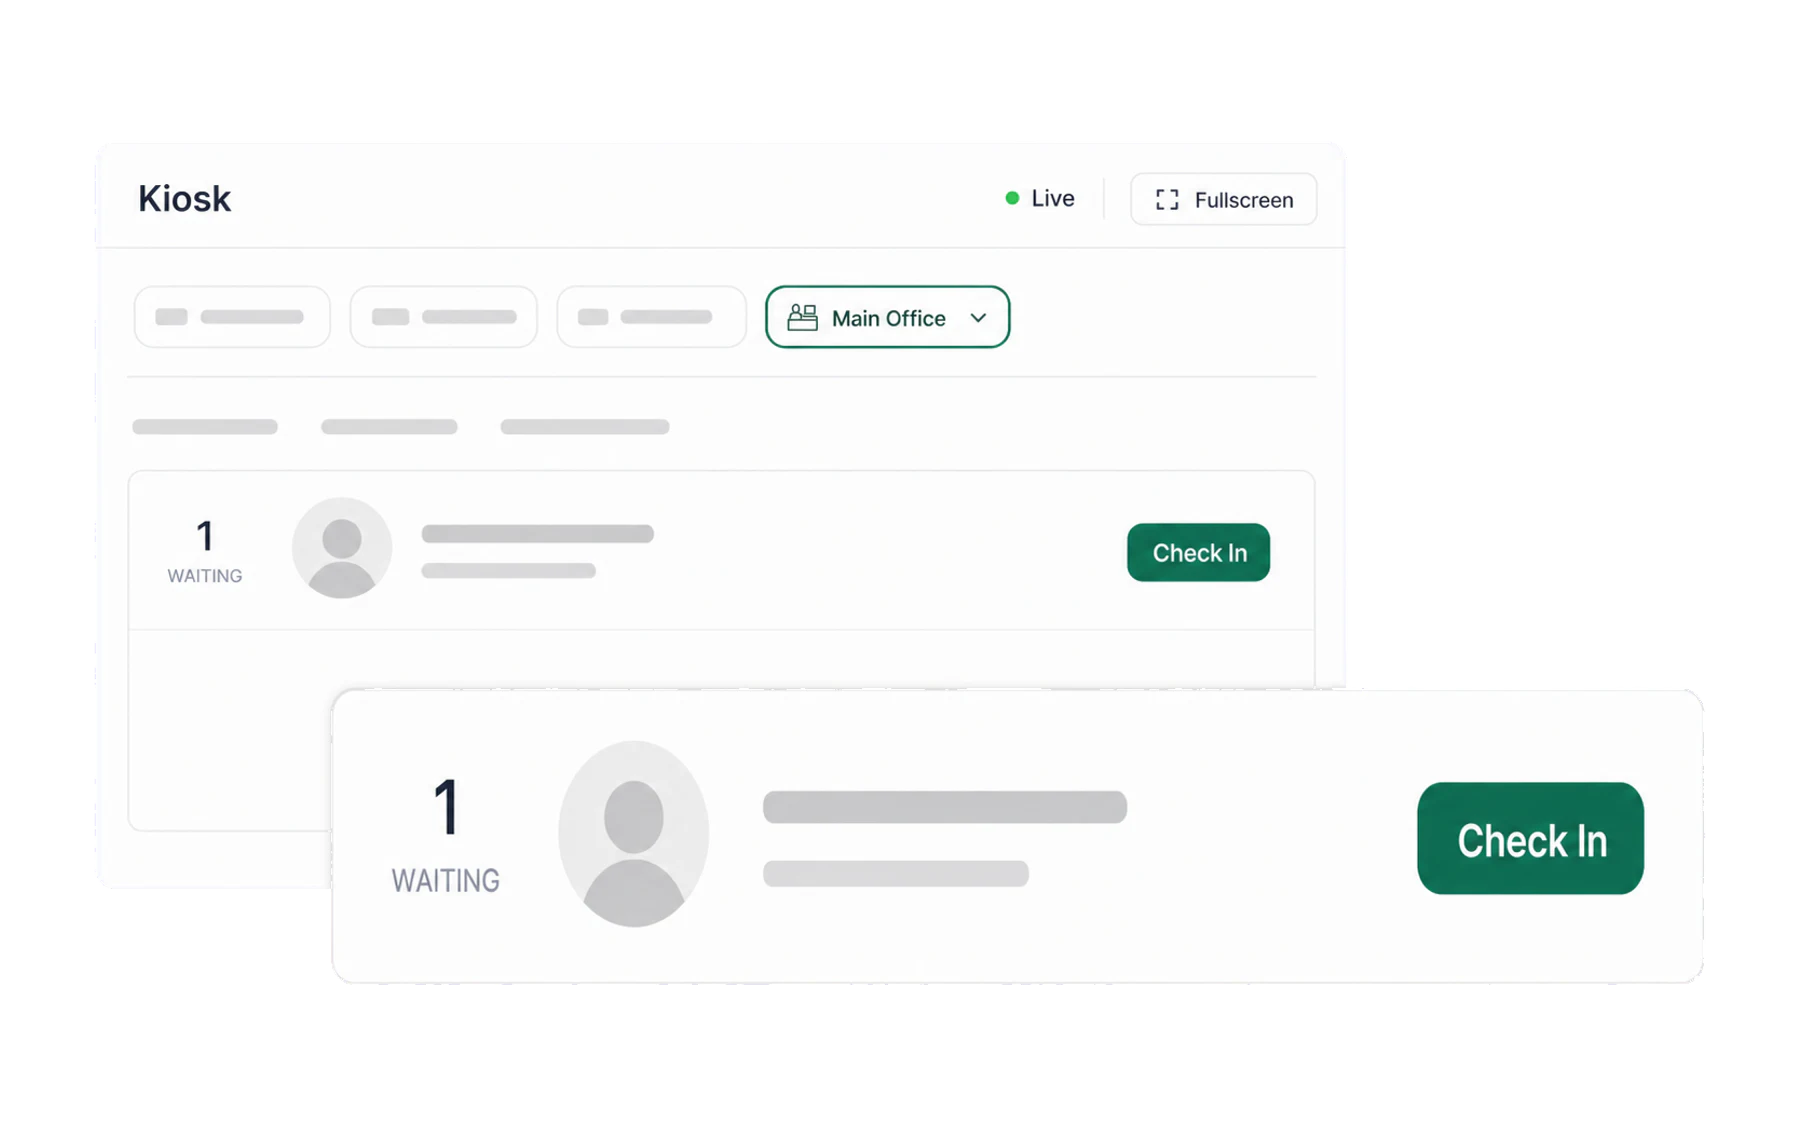
- En route — open pass records with an expected destination assigned to this screen.
- Arrived — records that a staff member checked in at this screen today.
- Avg. wait — the average recorded interval between pass creation and check-in.
- Busiest — which assigned destination has the most matching records.
Each card shows the student, expected destination, staff member who created the pass, and recorded open time. A card turns red and is marked Late once the record passes your school’s time limit without a recorded check-in. This is an operational status, not verification of the student’s location or route.
Keeping it current
The board updates itself as passes are issued and closed, with a periodic refresh behind that in case a network drops. The icons in the top right cover the rest: recent check-ins, kiosk settings, a manual refresh, and fullscreen.
Which screens can run it
Any device a staff member can sign in on: a spare laptop, a desktop with a second monitor, a tablet on a stand. For a screen nobody signs in to — a wall-mounted display, or a counter tablet used by whoever is on shift — set up a standalone kiosk instead: Run a dedicated kiosk device.